
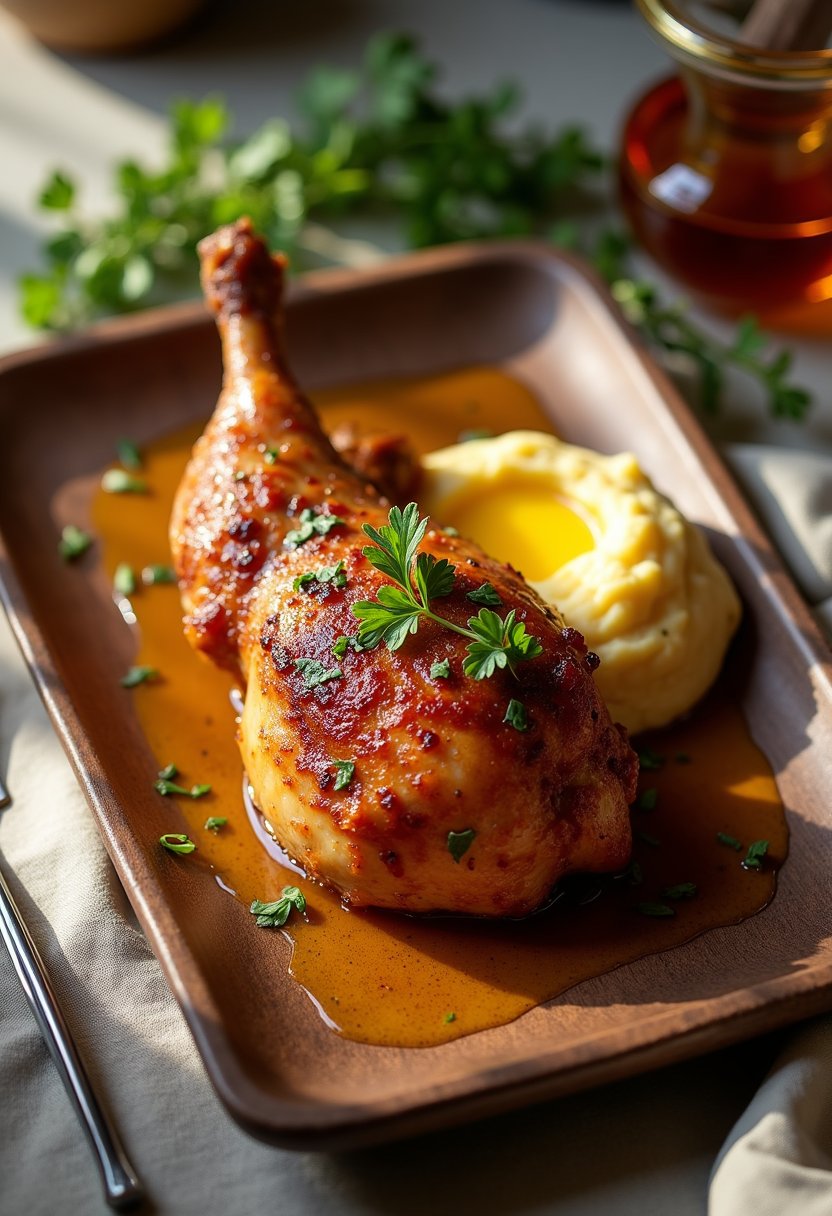
Picture this: a golden, succulent piece of chicken, glistening with a rich, buttery glaze that’s as sweet as it is savory. That, my culinary companions, is the magic of Honey Butter Chicken—a dish that promises to turn any ordinary dinner into a feast fit for a king (or queen, or really any royal title you fancy). It’s a taste sensation that combines the comforting richness of butter with the natural sweetness of honey, all enveloping tender chicken that’s been cooked to perfection.
The beauty of this dish lies in its simplicity and versatility. Imagine the aromas wafting through your kitchen as the chicken sizzles in a skillet, the honey caramelizing slightly, adding a hint of toasty complexity. The butter, meanwhile, lends a velvety smoothness that transforms the sauce into a luscious, indulgent treat. It’s the kind of meal that hugs you from the inside out.
What truly sets Honey Butter Chicken apart is its universal appeal. It’s sophisticated enough for a dinner party, yet unfussy, making it perfect for a weeknight meal when you want something comforting but don’t have hours to spare. Speaking of time, this recipe is delightfully straightforward, requiring just about 30 minutes from start to finish. Yes, you read that right—30 minutes to a winning dish that’s sure to impress even the pickiest of eaters.
And here’s the best part: you don’t need to be a seasoned chef to pull this off. With a few simple ingredients and basic kitchen tools (a trusty skillet and a spoon will do), you’ll be well on your way to honey-buttered bliss. So, if you’re ready to elevate your chicken game with minimal effort and maximum flavor, this Honey Butter Chicken recipe is your golden ticket.
The Story Behind This Recipe
Once upon a time in the vast culinary landscape, where sweet and savory flavors often danced in harmony, the Honey Butter Chicken was born—much to the delight of taste buds everywhere. This delectable dish finds its roots in the comforting embrace of Southern American cuisine, where buttery richness and honeyed sweetness are as beloved as a good front porch swing.
The tale begins in the kitchens of the Southern United States, where fried chicken is a staple, as iconic as a Southern drawl or a glass of sweet tea. Traditionally, fried chicken has been a Sunday dinner favorite, a dish that brings families together around the table. But, as with many great culinary innovations, someone had the audacity to ask, “What if we made this even more irresistible?”
Enter honey and butter, a duo as timeless as peanut butter and jelly, or perhaps more aptly, biscuits and gravy. Honey, with its golden hue and natural sweetness, pairs beautifully with the lush, creamy allure of butter. This combination, when applied to the crispy, juicy canvas of fried chicken, creates a symphony of flavors that are both comforting and indulgent.
The concept of marrying honey with butter isn’t limited to fried chicken. In fact, this pairing has historical roots, harking back to ancient times when honey was prized as a precious sweetener and butter was a luxurious staple. In Southern kitchens, the innovation of Honey Butter Chicken was likely a happy accident or a stroke of culinary genius, as cooks sought to elevate their beloved fried chicken to new heights.
Today, Honey Butter Chicken has traveled far beyond its Southern origins, gracing tables across the world with its sweet-savory allure. It’s a testament to the power of simplicity—a few humble ingredients coming together to create something truly extraordinary. And so, like any good story, the Honey Butter Chicken continues to be shared, one delicious bite at a time.
Kitchen Gear You’ll Need
To embark on the delicious journey that is crafting Honey Butter Chicken, you’ll need to arm yourself with the right kitchen gear. Think of these tools as your trusted companions, each playing an essential role in transforming simple ingredients into a symphony of flavors.
First up, a large, heavy-bottomed skillet or frying pan is crucial for this recipe. Opt for a non-stick or well-seasoned cast iron skillet if you have one on hand. This will ensure even cooking and help you achieve that beautiful golden-brown sear on your chicken thighs. Plus, it makes cleaning up so much easier—no one likes scrubbing, after all!
Next, you’ll need a sharp chef’s knife. A well-honed blade not only makes slicing through chicken thighs a breeze but also ensures you can swiftly chop your garlic or any herbs you might want to toss in for extra flavor. Remember, a dull knife is more dangerous than a sharp one, so keep it keen!
A cutting board is another must-have. Choose one that is sturdy and spacious enough to handle your meat and produce. If you can, dedicate a board solely for poultry to avoid cross-contamination—food safety first, my friend!
You’ll also need a mixing bowl for whisking together the star of the show: the honey butter sauce. A medium-sized bowl will suffice, preferably one with a non-slip base. This is where the magic begins, as you blend sweet honey with rich, creamy butter.
A wooden spoon or silicone spatula will be your best friend for stirring and flipping the chicken in the skillet. These tools are gentle on your cookware and perfect for scraping up those tasty caramelized bits that form on the pan’s surface.
Lastly, a meat thermometer is a handy tool to ensure your chicken is cooked to perfection. You’re aiming for an internal temperature of 74°C (165°F) to guarantee it’s both juicy and safe to eat. No one wants to serve (or eat) undercooked chicken, right?
With these trusty tools in your culinary arsenal, you’re well on your way to mastering the art of Honey Butter Chicken. Remember, the right equipment not only makes cooking easier but also more enjoyable. Happy cooking!
Ingredients
Get ready to embark on a culinary journey of sweet and savory bliss with our Honey Butter Chicken recipe. This dish is the epitome of comfort food, bringing together the luscious sweetness of honey with the rich, creamy goodness of butter. Let’s dive into the ingredients that make this dish a family favorite.
For the Chicken Marinade:
- 500 g (about 1 lb) boneless, skinless chicken thighs: Juicy and tender, thighs are preferred, but if you’re more of a breast person, go ahead—just be mindful of the cooking time.
- 2 cloves garlic, minced: Fresh garlic is best for that pungent kick, but if you’re in a pinch, 1/2 teaspoon of garlic powder can work.
- 1 tablespoon soy sauce: Opt for a low-sodium version if you’re watching your salt intake.
- 1 tablespoon rice vinegar: This adds a subtle tang; apple cider vinegar can be a substitute in a pinch.
- 1 teaspoon fresh ginger, grated: Fresh ginger imparts a bright and zesty flavor, but 1/4 teaspoon of ground ginger can be used if necessary.
For the Honey Butter Sauce:
- 60 g (1/4 cup) unsalted butter: Unsalted is key, as you’ll want to control the saltiness of the dish.
- 80 ml (1/3 cup) honey: Go for a good-quality honey for the best flavor. Clover or wildflower varieties are excellent choices.
- 1 tablespoon soy sauce: This adds a touch of umami to balance the sweetness.
- 1/2 teaspoon chili flakes (optional): Add a little heat if you like your sauce with a kick. Adjust to taste.
For Serving:
- Chopped fresh parsley or cilantro: A handful adds a fresh, herbaceous note and a pop of color.
- Cooked rice or mashed potatoes: Either makes a perfect bed for the saucy chicken to soak into.
A few notes on sourcing: If you happen to have a local farmer’s market, you might find locally sourced honey and fresh chicken that will elevate the dish even more. And remember, don’t skimp on the butter—after all, it’s half the name of the dish!
Step-by-Step Instructions
- Gather Your Ingredients and Tools
Before you dive into the glorious world of honey butter chicken, make sure you have everything you need at arm’s reach. You’ll need a large skillet, a whisk, measuring spoons, and a thermometer for safety. For ingredients: chicken thighs (boneless and skinless), butter, honey, garlic, salt, black pepper, and a pinch of chili flakes if you like a little heat. Set out 60g (1/4 cup) of butter, 120ml (1/2 cup) of honey, and about 8 cloves of garlic (minced). Oh, and don’t forget the chicken—about 900g (2 lbs) should do it! - Prepare the Chicken
Pat those chicken thighs dry with paper towels. This might seem trivial, but it’s the secret to achieving that coveted golden brown crust. Once dried, season both sides generously with salt and pepper. You want the seasoning to be as evenly distributed as a well-rehearsed chorus line. - Heat the Skillet
Place your skillet over medium-high heat and let it warm up for a minute or two. Add half of the butter (30g or about 2 tablespoons) and let it melt until it begins to foam and sizzle invitingly. Your kitchen should now be filled with the comforting aroma of butter—a lovely prelude to what’s to come. - Cook the Chicken
Carefully lay the chicken thighs in the skillet, smooth side down. Listen for that satisfying sizzle, a sure sign you’re on the right track. Cook for about 5-7 minutes on each side until they develop a deep golden-brown crust. The internal temperature should reach 74°C (165°F)—use your thermometer to check, keeping food safety in mind. - Remove and Rest
Transfer the chicken to a plate and let it rest. This allows the juices to redistribute, ensuring each bite stays juicy. Cover it loosely with foil to keep it warm while you work your magic on the sauce. - Create the Honey Butter Sauce
Reduce the heat to medium and add the remaining butter (30g or about 2 tablespoons) to the skillet. Once it melts, toss in the minced garlic. Stir continuously for about 30 seconds, just until the garlic releases its fragrant charm but before it turns bitter. - Add Honey and Heat Things Up
Pour the honey into the skillet, stirring to combine it with the buttery garlic mixture. If you’re feeling adventurous, now’s the time to sprinkle in a pinch of chili flakes. Let the sauce simmer gently for about 2-3 minutes, thickening slightly and developing a rich amber hue. - Reunite Chicken and Sauce
Return the chicken to the skillet, nestling it into the bubbling sauce. Spoon the honey butter over the chicken to coat it in sweet, glossy goodness. Let it simmer together for another 5 minutes, so the flavors meld beautifully. - Check and Serve
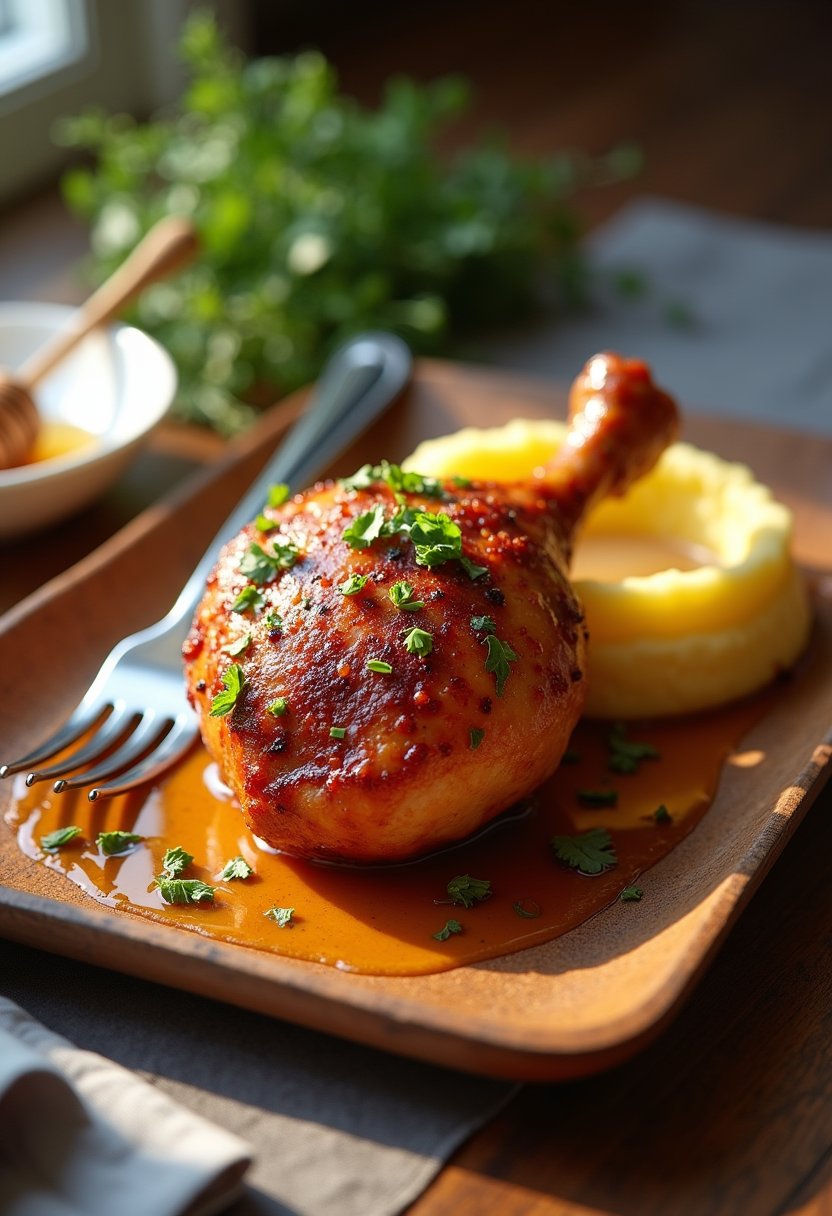
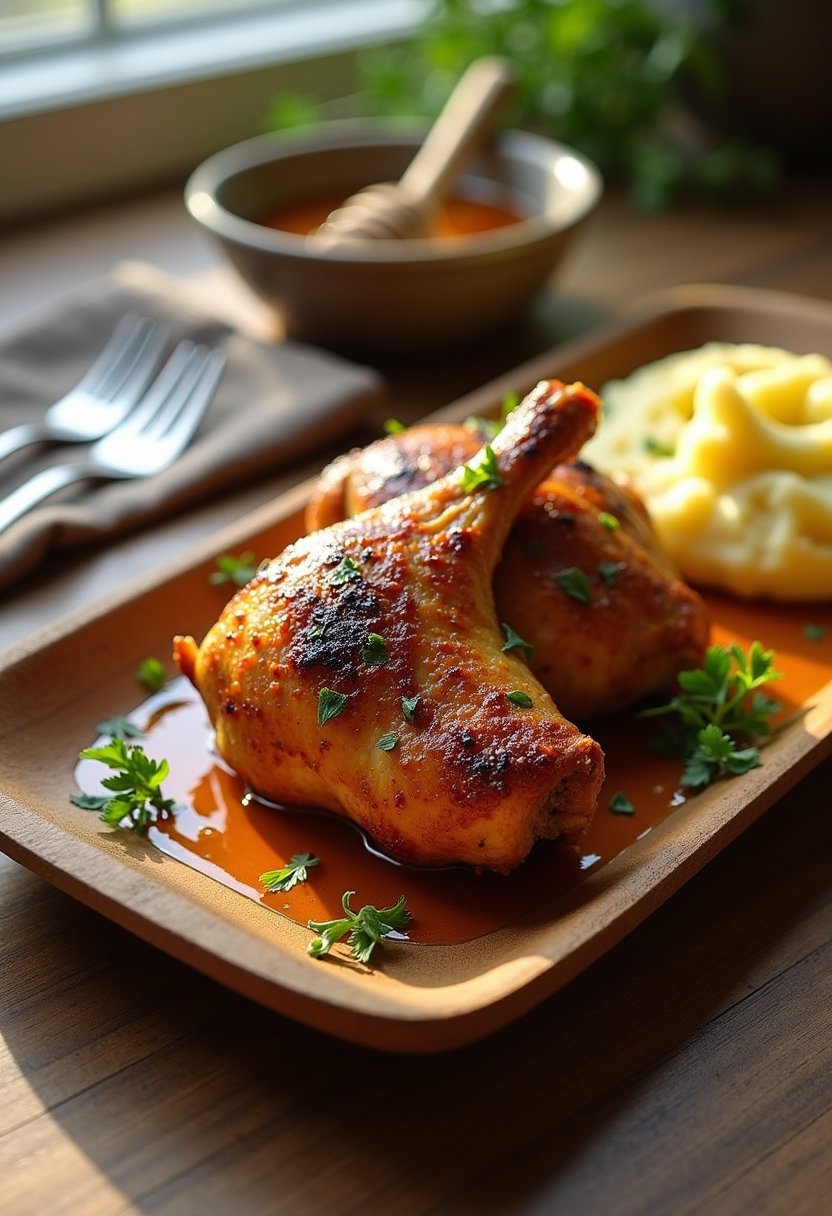
Do one last temperature check to ensure the chicken remains at a safe 74°C (165°F). Plate up your honey butter chicken with a generous drizzle of sauce. Consider garnishing with freshly chopped parsley for a pop of color and a hint of freshness. Serve it alongside rice, mashed potatoes, or a simple salad, and enjoy the fruits of your labor!
Tweaks and Additions
Welcome to the deliciously versatile world of Honey Butter Chicken! Once you’ve mastered the basic recipe, why not explore some delightful variations and tweaks to suit your mood, dietary restrictions, or just to impress that special someone who claims to have tried everything? Here are some ideas to get your creative juices flowing:
1. Spicy Honey Butter Chicken
If you’re a fan of a little heat, spice up your life by adding a teaspoon of crushed red pepper flakes or a dash of cayenne pepper to the honey butter sauce. This tweak introduces a fiery kick that balances beautifully with the sweet honey and creamy butter, adding a new dimension to the dish. Keep an eye on the cooking as the sugar in the honey can caramelize quickly. No changes in cooking time or temperature are needed, but do ensure you stir the sauce more frequently to prevent sticking.
2. Garlic and Herb Infusion
Turn your Honey Butter Chicken into a savory delight by adding a few cloves of minced garlic and a handful of freshly chopped herbs like rosemary or thyme. The garlic adds a rich, aromatic depth, while the herbs lend a fresh, earthy quality that complements the sweetness of the honey. Cook the garlic for a minute or two in the butter before adding the honey to avoid any raw garlic flavor, and proceed as usual. This twist doesn’t alter the cooking time but elevates the dish to a gourmet level.
3. Lemon Zest and Juice
For a zesty twist, add the zest of one lemon and a squeeze of its juice into your sauce. The citrusy notes cut through the richness, adding brightness and acidity to the mix. This variation is fantastic if you’re looking for a lighter, more refreshing version of Honey Butter Chicken. The lemon will slightly thin the sauce, so allow it to simmer for a few extra minutes to achieve the desired consistency.
4. Plant-Based Variation
For those embracing a plant-based lifestyle, swap the chicken for firm tofu or seitan, and use vegan butter. Ensure you press the tofu well to remove excess moisture, allowing it to absorb more flavor. Cook the tofu or seitan until they are golden on the outside, and then proceed with the sauce as per the recipe. This version requires no adjustment in cooking time but offers a delightful and ethical twist on the traditional dish.
5. Nutty Crunch Addition
Introduce a delightful crunch by sprinkling toasted nuts such as almonds or pecans over the finished dish. The nutty flavor adds an exciting texture and a hint of earthiness. Toast the nuts separately and add them just before serving to maintain their crunch. This addition offers pleasant surprises in every bite and doesn’t require any changes to the cooking time, making it an easy yet impressive tweak.
These variations not only provide exciting new flavors but also allow you to adapt the Honey Butter Chicken to different tastes and dietary needs seamlessly. Happy experimenting!
Troubleshooting Common Issues
Ah, honey butter chicken. It’s the dish that dreams are made of: sweet, savory, and oh-so-satisfying. But, like any culinary adventure, sometimes things don’t go as planned. That’s why I’m here to guide you through some common hiccups you might encounter while preparing this delightful dish. Think of me as your culinary fairy godmother, ready to wave a magic whisk and save the day.
Chicken Not Cooking Evenly
If your chicken is cooking unevenly, resulting in a mix of overcooked and undercooked pieces, the culprit could be uneven sizes. Aim to cut your chicken into uniform pieces. This ensures they all cook at the same rate. If you’ve already started cooking, not to worry—just remove any pieces that are cooked through (internal temperature should be 74°C or 165°F) and let the others finish cooking. For future reference, a meat thermometer is your best friend.
Honey Butter Sauce Too Thick or Thin
The key to a perfect honey butter sauce is balance. If your sauce is too thick, it might be due to excessive reduction. Simply add a splash of water or chicken broth to loosen it up. On the flip side, if your sauce is too thin, continue to simmer it gently to allow some of the liquid to evaporate. Remember, patience is a virtue, especially in the kitchen.
Burnt Butter
Burnt butter can turn your sweet dish into a bitter disappointment. To prevent this, use a medium-low heat when melting the butter initially. Keep an eye (and nose) on it, stirring occasionally, until it turns a lovely golden brown. If you do end up burning it, it’s best to start fresh rather than trying to mask the flavor.
Sauce Not Sticking to Chicken
If your sauce isn’t adhering to the chicken, it might be because the chicken was too wet when added to the pan. Make sure to pat your chicken dry with paper towels before cooking. This not only helps the sauce stick but also promotes better browning. If the sauce still won’t cooperate, let it reduce a bit more until it thickens slightly.
Remember, cooking is as much about learning from our mistakes as it is about savoring our successes. Each misstep is just a step closer to perfecting your honey butter chicken. So, keep calm, keep stirring, and remember: the kitchen is your playground.
Frequently Asked Questions
Can I use chicken thighs instead of chicken breasts for this recipe?
Absolutely! Chicken thighs are a fantastic substitute for chicken breasts in this recipe. They tend to be juicier and more forgiving if you accidentally overcook them a bit. If you’re using boneless, skinless chicken thighs, the cooking time might be slightly shorter, around 20-25 minutes at 375°F (190°C). With bone-in, skin-on thighs, you’ll want to cook them a little longer, about 30-35 minutes, to ensure they’re cooked through to an internal temperature of 165°F (74°C).
How can I prevent the honey butter sauce from burning?
Ah, the age-old sticky dilemma! To prevent burning, make sure you’re cooking over medium heat and keep an eye on it. Stir occasionally to distribute the heat evenly. If the sauce starts to thicken too quickly or caramelize, you can lower the heat and add a splash of water or chicken broth to loosen it up. Remember, patience is key; low and slow wins the race to scrumptiousness here!
Can I make this dish ahead of time?
Yes, you can! Prepare the chicken and the sauce separately up to a day in advance. Store them in airtight containers in the refrigerator. When ready to serve, reheat the chicken in the oven at 350°F (175°C) until warmed through, about 15-20 minutes. Reheat the sauce gently on the stove over low heat, stirring occasionally, until it reaches your desired consistency. Combine them just before serving for maximum flavor impact!
How should I store leftovers?
If by some miracle you have leftovers, store them in an airtight container in the fridge for up to 3 days. Make sure the chicken has cooled to room temperature before refrigerating to prevent condensation from making your chicken soggy. Trust me, no one likes soggy chicken!
What’s the best way to reheat honey butter chicken without drying it out?
Reheating chicken without turning it into a dry, chewy mess is an art! For best results, preheat your oven to 325°F (165°C). Place the chicken in a baking dish, add a splash of chicken broth or water, and cover it with aluminum foil. This will create steam and keep the chicken moist. Bake for about 15-20 minutes, or until the internal temperature reaches 165°F (74°C). If you’re in a hurry, you can also use the microwave—just cover the chicken to retain moisture and heat in short bursts, checking frequently.
Final Thoughts
And there you have it—our mouthwatering Honey Butter Chicken, a dish that’s sure to delight your taste buds and impress your dinner guests, all while making you feel like a culinary genius. As you sit down to savor this delightful concoction, take a moment to appreciate the harmony of flavors and textures you’ve created. The sweet, sticky glaze of honey mingling with rich, creamy butter wraps the tender chicken in a warm, comforting embrace that’s hard to resist.
If you’re worried about leftovers, fear not! This dish is as versatile as it is delicious. The chicken can be easily sliced and tossed into a fresh salad for a light lunch the next day or tucked into a soft roll with a bit of coleslaw for an easy sandwich. Trust me, your future self will thank you when lunch rolls around.
Remember, cooking is as much about the journey as it is about the destination. So, don’t be afraid to tweak the recipe to suit your taste. Perhaps a pinch of cayenne for a little heat or a splash of lemon juice for a zesty kick? Cooking is your canvas, and the kitchen is your studio.
Lastly, as you clean up your kitchen, revel in the satisfaction of having created something truly special. This Honey Butter Chicken isn’t just a meal; it’s a testament to your skills, creativity, and the joy of cooking at home. Bon appétit!


Leave a Reply