
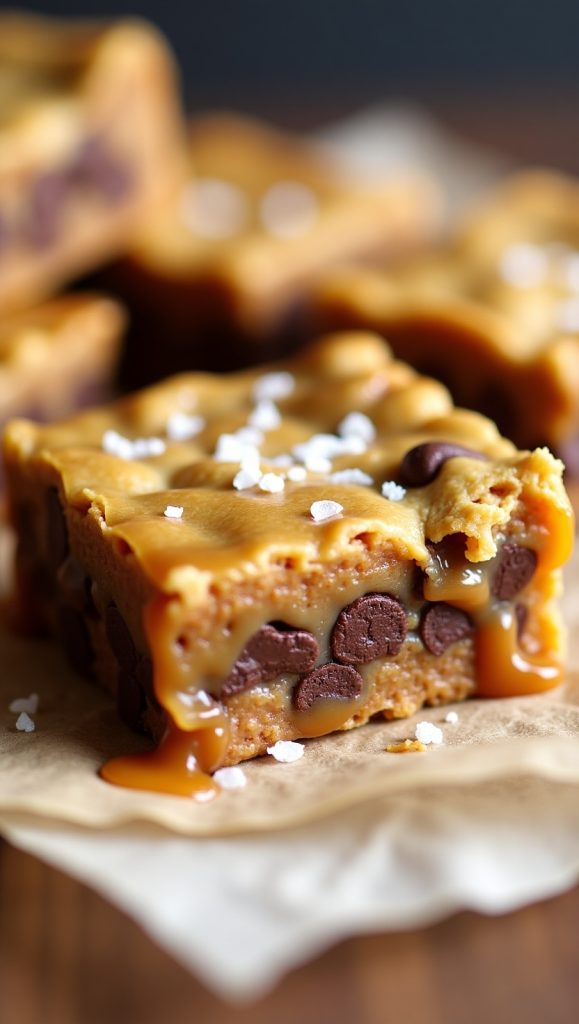
Is there anything more comforting than the smell of freshly baked cookies wafting through your kitchen? Now, imagine that classic aroma infused with layers of sweet, gooey caramel, chunks of melted chocolate, and a hint of sea salt for a perfect sweet-and-salty balance. Introducing Salted Caramel Chocolate Chip Oat Cookie Bars, a dessert so indulgent and satisfying that it might just become your new go-to treat for any occasion.
In this blog post, we’ll take a deep dive into everything you need to know about making these decadent bars. From breaking down the recipe step by step to sharing tips for success, storage advice, and creative variations, this guide will arm you with everything you need to bake like a pro.
Why You’ll Love This Recipe
Salted Caramel Chocolate Chip Oat Cookie Bars combine all the best flavors and textures into one irresistible dessert. Here’s why they’re worth making:
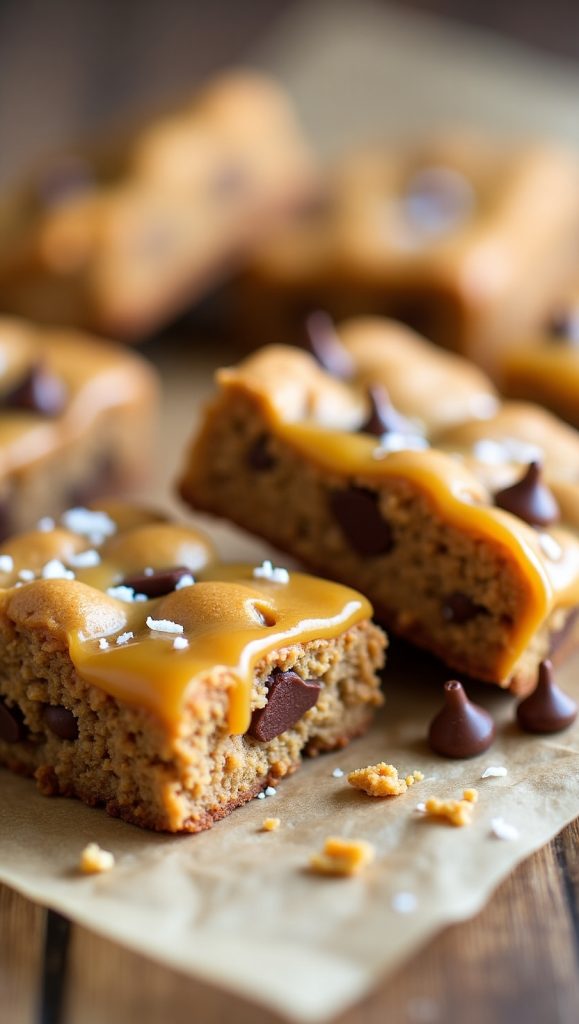
- A Perfect Blend of Textures: The oat cookie base is chewy and slightly crisp, the caramel layer is luscious and gooey, and the chocolate chips add a melty richness in every bite.
- Sweet-and-Salty Magic: A sprinkle of flaky sea salt enhances the caramel and chocolate, taking the flavor to gourmet levels.
- Simple Ingredients: Most of the ingredients are pantry staples, making this an easy recipe to whip up without a special trip to the grocery store.
- Customizable and Crowd-Pleasing: Whether you’re baking for a holiday party, a bake sale, or a cozy family dessert, these bars are always a hit. Plus, you can easily adapt the recipe for dietary preferences (more on that later!).
Ingredients You’ll Need
This recipe is made with a mix of basic baking staples and a few special touches:
For the Oat Cookie Base and Topping:
- 1 ¾ cups (220g) all-purpose flour
- 1 ½ cups (120g) old-fashioned rolled oats: These provide the chewy texture that sets these bars apart from regular cookies.
- 1 cup (200g) packed brown sugar: Brown sugar keeps the cookie base moist and adds a subtle molasses flavor.
- ¾ cup (170g) unsalted butter: Softened to room temperature for easy mixing.
- 1 large egg: Binds the ingredients together for a cohesive dough.
- 1 tsp pure vanilla extract: A must for enhancing the cookie flavor.
- ½ tsp baking soda: For just the right amount of lift.
- ½ tsp salt: Balances the sweetness.
For the Salted Caramel Layer:
- 1 cup (240ml) caramel sauce: Store-bought works perfectly, or you can make your own for a richer flavor.
- 1 tsp flaky sea salt: Adds that irresistible salted caramel touch.
For the Chocolate Layer:
- 1 ½ cups (250g) semisweet chocolate chips: Use high-quality chocolate for the best results.
Step-by-Step Recipe Instructions
Step 1: Preheat Your Oven
Preheat your oven to 350°F (175°C). Line a 9×13-inch baking pan with parchment paper, leaving some overhang on the sides for easy removal. Grease the parchment lightly with butter or non-stick spray.
Step 2: Make the Oat Cookie Dough
- In a large mixing bowl, beat the butter and brown sugar together until light and fluffy, about 2-3 minutes. Use a hand or stand mixer for best results.
- Add the egg and vanilla extract, mixing until well combined.
- In a separate bowl, whisk together the flour, rolled oats, baking soda, and salt. Gradually add the dry ingredients to the wet mixture, mixing until just combined. Be careful not to overmix, as this can make the bars tough.
Step 3: Assemble the Base Layer
Press about two-thirds of the dough into the bottom of your prepared pan. Use your hands or the back of a spoon to spread it into an even layer. Reserve the remaining dough for the topping.
Step 4: Add the Caramel Layer
Pour the caramel sauce evenly over the oat cookie base. Use a spatula to spread it out, leaving a small border around the edges to prevent it from oozing out during baking. Sprinkle the flaky sea salt over the caramel layer.
Step 5: Add Chocolate Chips and Crumble Topping
Sprinkle the chocolate chips evenly over the caramel. Crumble the reserved oat cookie dough over the top, leaving some gaps to let the caramel peek through.
Step 6: Bake to Perfection
Bake in the preheated oven for 25-30 minutes, or until the top is golden brown and the caramel is bubbling around the edges. Keep an eye on it during the last few minutes to avoid overbaking.
Step 7: Cool and Slice
Allow the bars to cool completely in the pan. This step is crucial for the caramel to set and make slicing easier. Once cooled, use the parchment overhang to lift the bars out of the pan. Cut into squares or rectangles, and enjoy!
Tips for Success
- Use Room-Temperature Ingredients: Softened butter and a room-temperature egg ensure a smooth, cohesive dough.
- Don’t Overbake: The bars will continue to set as they cool, so take them out of the oven as soon as the top turns golden.
- Chill the Caramel Sauce: If your caramel sauce is runny, chilling it slightly before assembling the bars can help it stay in place during baking.
- Use Parchment Paper: This makes removing the bars from the pan so much easier and prevents sticking.
Creative Variations
While the classic recipe is hard to beat, there are plenty of ways to make these bars your own:
- Nutty Delight: Add chopped pecans or walnuts to the crumble topping for extra crunch.
- Peanut Butter Twist: Swirl some peanut butter into the caramel layer for a salty-sweet combination.
- Gluten-Free Option: Use a gluten-free all-purpose flour blend and certified gluten-free oats.
- Vegan-Friendly: Substitute the butter with vegan butter, the egg with a flaxseed egg, and ensure your caramel and chocolate are vegan.
- Holiday Flair: Add a pinch of cinnamon or nutmeg to the dough for a warm, spiced flavor.
How to Store and Serve
- Room Temperature: Store the bars in an airtight container at room temperature for up to 3 days.
- Refrigerator: For longer storage, keep the bars in the fridge for up to a week. Let them come to room temperature before serving for the best texture.
- Freezer: These bars freeze beautifully! Wrap individual portions in plastic wrap, then place them in a freezer-safe bag. They’ll keep for up to 2 months. Thaw at room temperature before enjoying.
To serve, pair these cookie bars with a cold glass of milk, a scoop of vanilla ice cream, or a drizzle of warm caramel sauce for extra indulgence.
Nutritional Information (Per Serving)
Here’s a rough estimate of the nutritional content per serving (based on 16 bars):
- Calories: 320
- Fat: 15g
- Carbohydrates: 44g
- Protein: 3g
- Sugar: 28g
- Fiber: 2g
Final Thoughts
Salted Caramel Chocolate Chip Oat Cookie Bars are more than just a dessert; they’re a moment of indulgence, a cozy treat, and a guaranteed crowd-pleaser. With their perfect combination of textures and flavors, these bars are destined to become a favorite in your baking repertoire.
Whether you’re baking for a special occasion or simply craving something sweet, this recipe delivers every time. Try it out, share it with loved ones, and watch as these bars disappear faster than you can say “salted caramel.” Happy baking!


Leave a Reply