
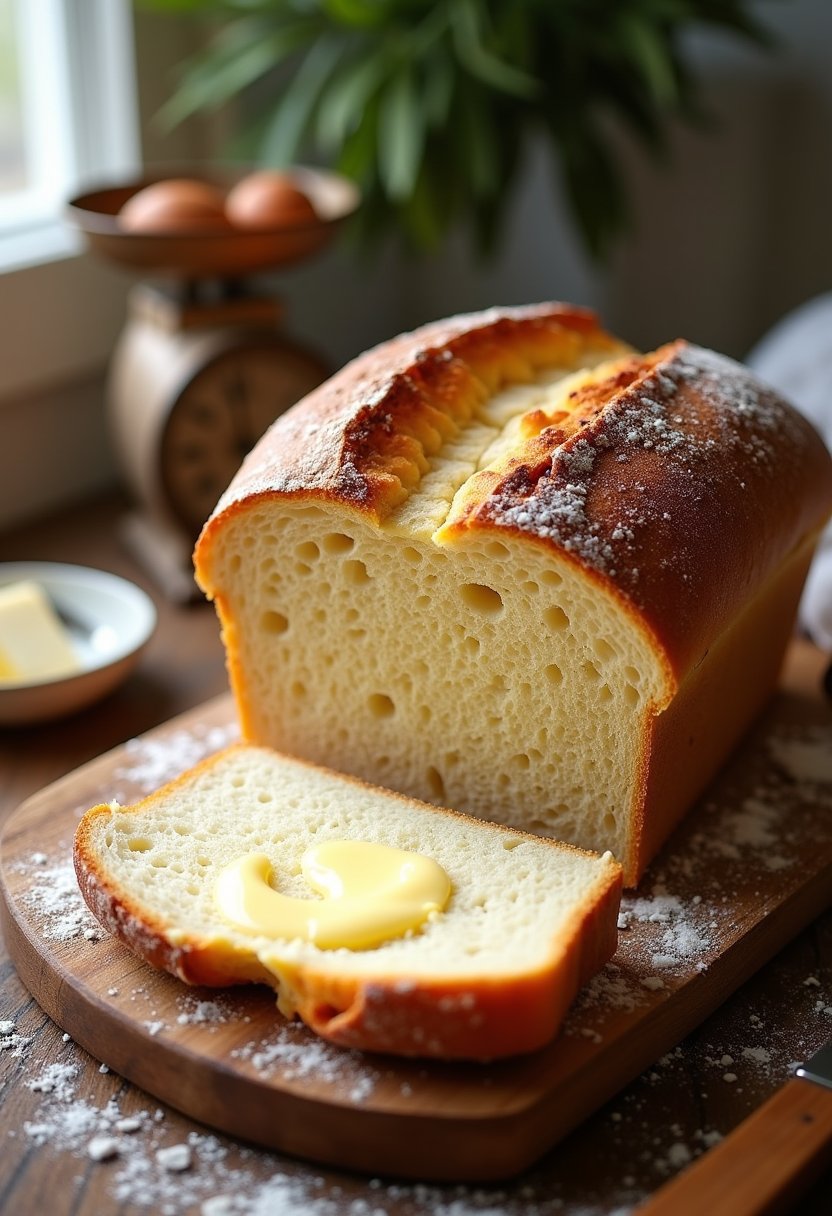
Imagine the warm embrace of a freshly baked loaf, its soft, pillowy interior enveloped in a golden crust that whispers promises of comfort. This is the magic of our Super Soft Bread Recipe—a delightful fusion of texture and taste that transforms any ordinary meal into an extraordinary experience. Picture yourself tearing into a slice, the aroma of yeast and a hint of sweet butter wrapping around you like a cozy blanket. Whether it’s a simple breakfast or a lavish dinner, this bread is the ultimate versatile companion.
But why should you make it? Because there’s nothing quite like the satisfaction of baking your own bread, witnessing the alchemy of flour, water, and yeast coming together in a dance of fermentation. This recipe is surprisingly approachable, even for those who fear the yeast beast. With just a few simple ingredients, a trusty loaf pan, and a bit of patience, you can create something truly special. From start to finish, you’re looking at about 3 hours, with most of it being hands-off rising time—perfect for binge-watching your favorite series or catching up on chores. Embrace the joy of homemade bread and let your kitchen turn into a haven of irresistible scents and flavors.
Kitchen Gear You’ll Need
Ah, the magic of bread-making! Before you dive into the world of flour and yeast, let’s talk about the trusty sidekicks that will make your bread journey a triumphant success. First off, you’ll need a large mixing bowl—one big enough to hold your enthusiasm and the ingredients as they puff up into a glorious dough. A sturdy wooden spoon or a silicone spatula is essential for mixing; save the electric mixer for another day as you’ll be using your hands for this therapeutic task.
A kitchen scale is your best friend for precise measurements. Remember, baking is a science, and a scale ensures you’re more Einstein than Mad Hatter. A clean tea towel will serve as your bread’s cozy blanket, keeping it warm during the rise.
For baking, a loaf pan (23 x 13 cm or 9 x 5 inches) will shape your dough into a loaf worthy of admiration. Lastly, a cooling rack will let your bread rest post-bake, allowing you to resist temptation and avoid burnt fingers.
Ingredients
For the dough, you’ll need:
- 500 g (4 cups) bread flour: Bread flour is essential for that perfect chewiness. If unavailable, all-purpose flour can substitute, but the texture might slightly differ.
- 60 g (1/4 cup) granulated sugar: This adds a hint of sweetness and helps the yeast along its bubbly journey.
- 8 g (1 1/2 tsp) salt: Essential for flavor balance. Sea salt or kosher salt can be used.
- 7 g (2 1/4 tsp) instant yeast: Instant yeast is your best friend here as it saves time. If you only have active dry yeast, activate it in warm water first.
- 300 ml (1 1/4 cups) warm milk (about 37°C / 98°F): The warmth coaxes the yeast into action, and milk contributes to the bread’s softness. Soy or almond milk are viable alternatives for a dairy-free version.
- 60 g (1/4 cup) unsalted butter, softened: This adds richness and softness to the bread. Margarine can be used if you prefer a non-dairy option.
- 1 large egg: Provides structure and tenderness to the dough.
For the topping:
- 10 g (1 tbsp) sesame seeds or poppy seeds (optional): Sprinkling these on top adds a delightful crunch and a nutty flavor. You can skip them if you prefer a smooth, unadorned loaf.
Make sure all your ingredients are at room temperature, which ensures everything blends beautifully. And remember, the quality of your ingredients can make or break your bread, so opt for the best you can find!
Step-by-Step Instructions
- Gather Your Ingredients and Tools
Before you transform your kitchen into a bakery, gather the essentials: 500g (4 cups) all-purpose flour, 7g (2¼ tsp) active dry yeast, 50g (¼ cup) sugar, 8g (1½ tsp) salt, 60g (4 tbsp) unsalted butter (softened), 1 egg, and 300ml (1¼ cups) warm milk (about 110°F/43°C). You’ll also need a large mixing bowl, a hand or stand mixer with a dough hook, a loaf pan, and a clean kitchen towel. - Activate the Yeast
In a small bowl, whisk together the warm milk and sugar until the sugar dissolves. Sprinkle the yeast over the top, and let it sit for about 5 minutes. You’ll know your yeast is ready when it becomes frothy and aromatic, like the sweet smell of a bakery first thing in the morning. - Mix the Dry Ingredients
In your large mixing bowl, combine the flour and salt. Stir these together with a spoon until well mixed. This is where the magic begins – the salt enhances the flavor of the bread, while the flour provides the structure. - Make the Dough
Add the frothy yeast mixture, softened butter, and egg to your dry ingredients. Using your mixer on low speed, mix until everything is just combined. Then, increase the speed to medium, allowing the dough to form. Knead for about 8-10 minutes until your dough is smooth and elastic. If you’re kneading by hand, put some elbow grease into it – it’s a workout that pays off in soft, fluffy slices. - First Rise
Lightly grease a bowl with oil and place your dough inside, turning it once to coat. Cover the bowl with a kitchen towel and let it rise in a warm spot until it doubles in size, about 1-1.5 hours. Patience, friends – this is where the dough develops its character and flavor. - Prepare the Loaf
Once doubled, punch down the dough gently to release any air. Turn it onto a lightly floured surface and shape it into a rectangle. Roll it up tightly from one short end to the other, pinching the seam to seal. Place the loaf seam-side down in your greased loaf pan. - Second Rise
Cover the loaf pan with your trusty kitchen towel again and let it rise until the dough domes about 2cm (¾ inch) above the edge of the pan, another 30-45 minutes. It should look plump and proud, like it’s ready for its moment in the spotlight. - Preheat and Bake
Preheat your oven to 350°F (175°C). Bake your bread for 25-30 minutes. You’ll know it’s done when the top is golden brown and it sounds hollow when tapped. If you’re unsure, use a thermometer – the internal temperature should be 190°F (88°C). - Cool and Enjoy
Remove the bread from the oven and let it cool in the pan for about 10 minutes. Then, turn it out onto a wire rack to cool completely. Slice and enjoy the super soft bread that’s perfect for sandwiches, toast, or sneaky butter smothering when no one’s looking!
Tweaks and Additions
Experimenting with your super soft bread recipe can lead to delightful discoveries and cater to different dietary needs or flavor preferences. Here are a few ideas to get your creative dough rising:
Whole Wheat Wonder
Swap out half of the all-purpose flour for whole wheat flour. This gives the bread a nutty flavor and increases the fiber content. You may need to add an extra tablespoon or two of water, as whole wheat flour absorbs more liquid. The bread might be slightly denser, but no less delightful.
Herb-Infused Aroma
Add a tablespoon of dried herbs like rosemary, thyme, or oregano into the flour mixture. The herbs will infuse the loaf with a fragrant aroma and a savory touch. This variation doesn’t affect baking time, but your house will smell like a cozy Italian kitchen.
Gluten-Free Delight
For a gluten-free version, replace the flour with a gluten-free all-purpose blend. Be sure to add a teaspoon of xanthan gum to improve texture. Cooking time remains the same, but the texture will be slightly different—typically denser and more crumbly.
Sweet Cinnamon Swirl
Before the final rise, roll out the dough into a rectangle, sprinkle with a mixture of 50g (1/4 cup) sugar and 2 teaspoons cinnamon, then roll up tightly. This creates a beautiful swirl and a sweet surprise in each slice. No baking time adjustment needed.
Dairy-Free Delight
Swap the milk for almond or oat milk and replace butter with coconut oil or a vegan butter substitute. The bread retains its softness but gains a subtle, nutty undertone from the alternative milk, suitable for those avoiding dairy.
Feel free to mix and match these ideas, and enjoy the endless possibilities of your super soft bread!
Serving Suggestions
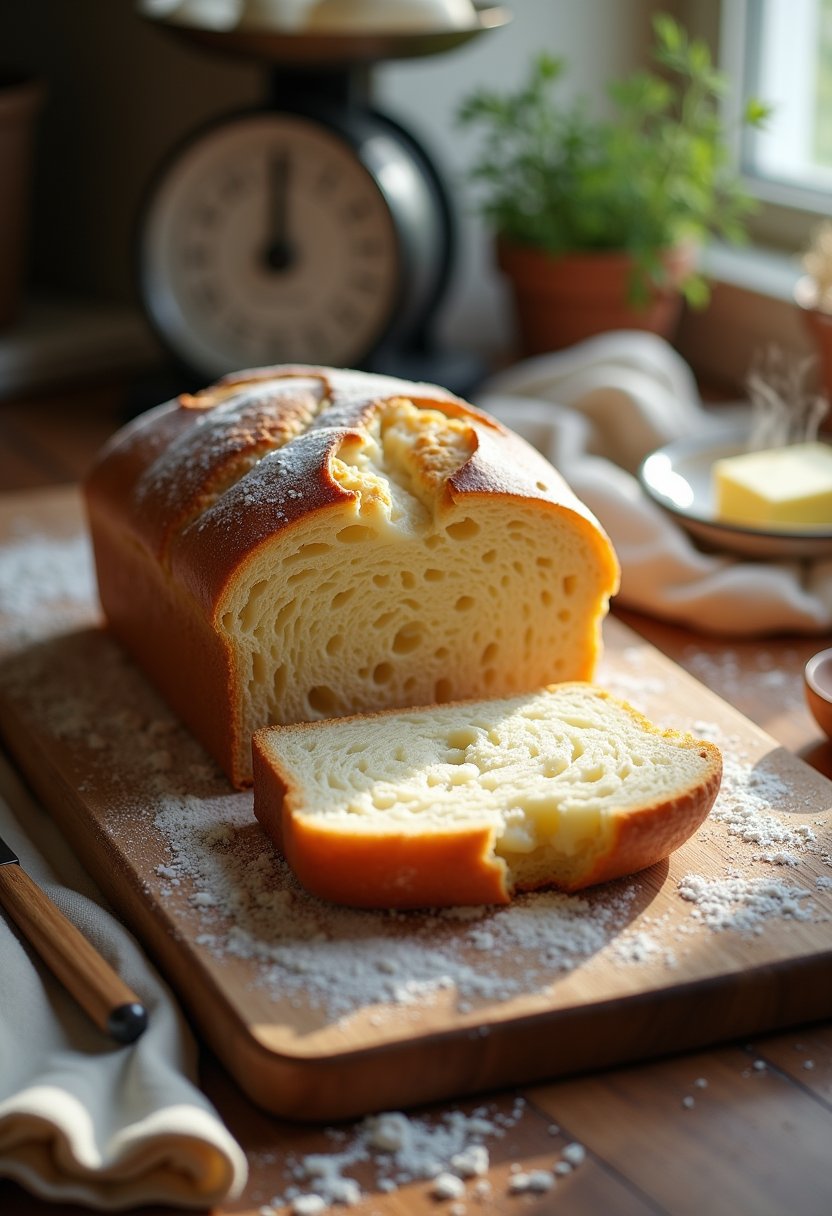
Imagine sinking your teeth into a slice of this super soft bread, fresh out of the oven, its warmth still lingering. The aroma is like a comforting hug, inviting you to dive into a culinary adventure. This bread is the perfect canvas for all sorts of delightful pairings.
Start your day with a classic: slather on some creamy butter, letting it melt into the pillowy crumb. For a sweet twist, a generous smear of raspberry jam or honey will transform your morning into a treat. Lunchtime calls for a gourmet sandwich—layer it with turkey, fresh greens, and a slather of Dijon mustard for a bite that’s both hearty and satisfying.
Fancy a snack? Toast a slice and top it with smashed avocado, a sprinkle of sea salt, and a dash of chili flakes for a modern twist. And let’s not forget the ultimate comfort—tear off a hunk and dip it into a bowl of hearty soup. This super soft bread is your trusty sidekick for any meal, ready to elevate every bite.
Troubleshooting Common Issues
Dealing with Dense Bread
If your bread turned out denser than your favorite mystery novel, fear not! Check the yeast: it might be expired or didn’t activate properly. Make sure your water is warm (around 38°C or 100°F) but not hot, as scalding temperatures can murder those little yeast cells. Also, be gentle when kneading. Over-kneading can develop too much gluten, creating a tight crumb instead of a fluffy one.
Addressing the Lack of Rise
A bread that doesn’t rise is like a soufflé without a puff. Ensure your dough is placed in a warm, draft-free environment. Your dough’s happy place is around 24-27°C (75-80°F). If your kitchen is on the chilly side, try setting the dough in the oven with just the light on. Also, remember to give your dough time to double in size—patience is a crucial ingredient!
Cracks in the Crust
Cracks can appear if the bread cools too quickly. When removing bread from the oven, let it cool on a wire rack. This allows air circulation to cool it evenly. And, if you’re aiming for a softer crust, brush the bread with a bit of melted butter as it cools. It’ll add a sheen of moisture that prevents cracking.
Tackling Sticky Dough
If your dough resembles a gluey mess, don’t panic. Sticky dough is often the result of too much moisture; try adding flour a tablespoon at a time until it’s manageable. Alternatively, oil your hands and the work surface—it’s a neat trick to handle dough without turning your kitchen into a floury blizzard.
Frequently Asked Questions
Why is my bread not as soft as expected?
Several factors can affect the softness of your bread. First, ensure you are kneading the dough adequately. This helps develop gluten, which is essential for a good crumb structure. Knead until the dough is smooth and elastic, about 10 minutes by hand or 5 minutes with a stand mixer. Also, check the yeast’s freshness. Expired or inactive yeast can lead to denser bread. Finally, ensure you’re not overbaking; aim for an internal temperature of 190°F (88°C) for perfect softness.
Can I use whole wheat flour instead of all-purpose flour?
Yes, but be prepared for a slightly denser loaf. Whole wheat flour absorbs more liquid and doesn’t rise as much as all-purpose flour. You can substitute up to 50% of the flour with whole wheat, adjusting the water content as needed to achieve a smooth, pliable dough. For softer bread, consider adding a tablespoon of vital wheat gluten per cup of whole wheat flour.
How can I make this recipe ahead of time?
You can prepare the dough a day in advance and let it rise slowly in the refrigerator. After the initial kneading, cover the dough with cling film or a damp cloth and refrigerate it. The next day, allow it to come to room temperature and double in size before shaping and baking. This method also enhances flavor as the dough ferments slowly.
What is the best way to store the bread to keep it soft?
Store your bread in an airtight container or a resealable plastic bag at room temperature for up to 3 days. Avoid refrigeration, as it can make the bread stale faster. For longer storage, freeze the bread in slices or as a whole loaf. Wrap it tightly in plastic wrap and place it in a freezer-safe bag.
How do I reheat the bread without drying it out?
Reheat your bread by wrapping it in aluminum foil and placing it in a preheated oven at 350°F (175°C) for 10-15 minutes. This method helps retain moisture. If you’re in a hurry, you can also microwave a slice on medium power for about 10-15 seconds; just be cautious to avoid overdoing it, which can make it rubbery.
Final Thoughts
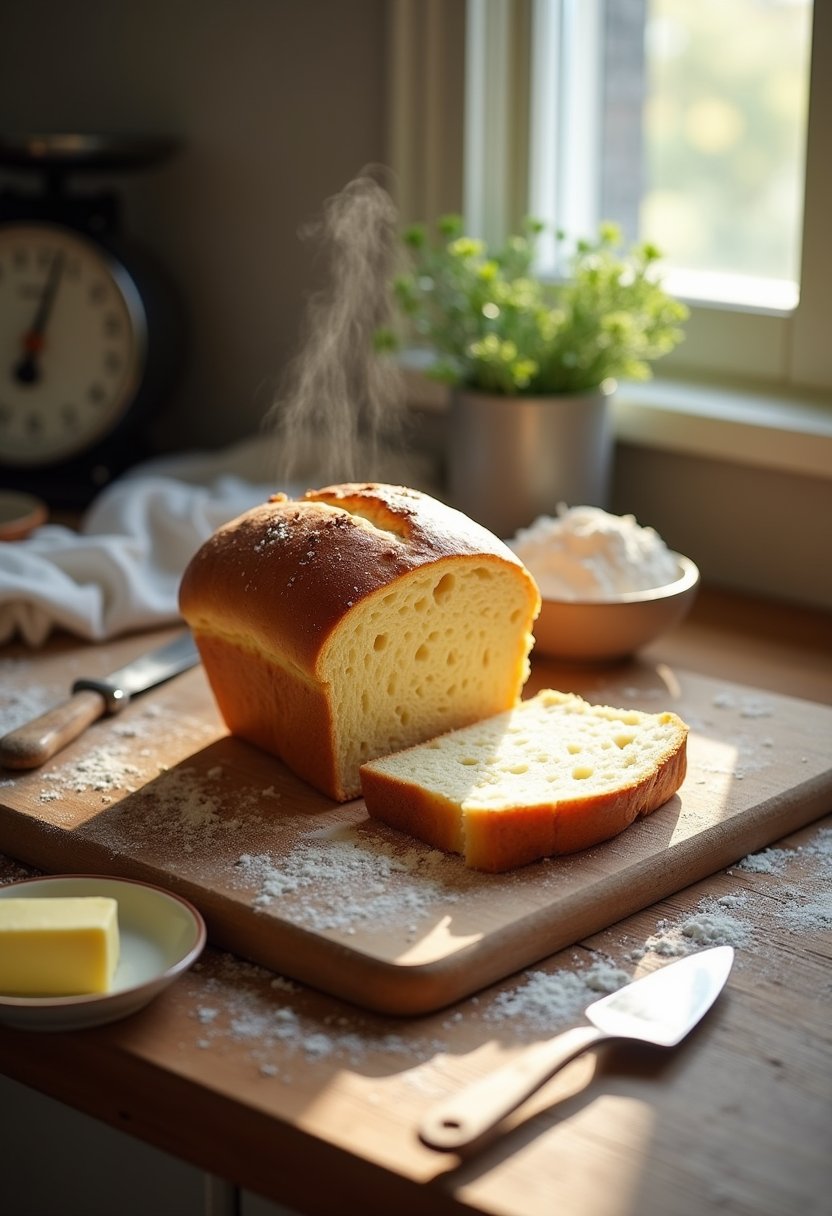
As you pull this super soft bread from the oven, take a moment to revel in the tantalizing aroma wafting around your kitchen. The golden crust, with its invitingly warm hue, holds the promise of an airy, melt-in-your-mouth crumb. It’s a bread that begs to be torn apart, gently releasing a cloud of steam as it makes its way to your eager taste buds.
This recipe is a testament to the magic of simple ingredients: flour, water, yeast, and just a touch of sweetness, each playing its part in creating a loaf that’s as comforting as a cozy blanket. Whether you choose to spread it with a pat of butter or dunk it into a savory soup, every bite is a reminder of why homemade bread is worth every minute of effort.
So, give yourself a pat on the back. You’ve not only baked bread; you’ve created a slice of happiness, one that will surely have your friends and family coming back for more. Enjoy!


Leave a Reply